

If you're a developer you most likely want to have the best tools available to you, and if you are like me a useful command line is a must-have.
In this short post, I'll walk you through the steps required to set up a command line like the one below.
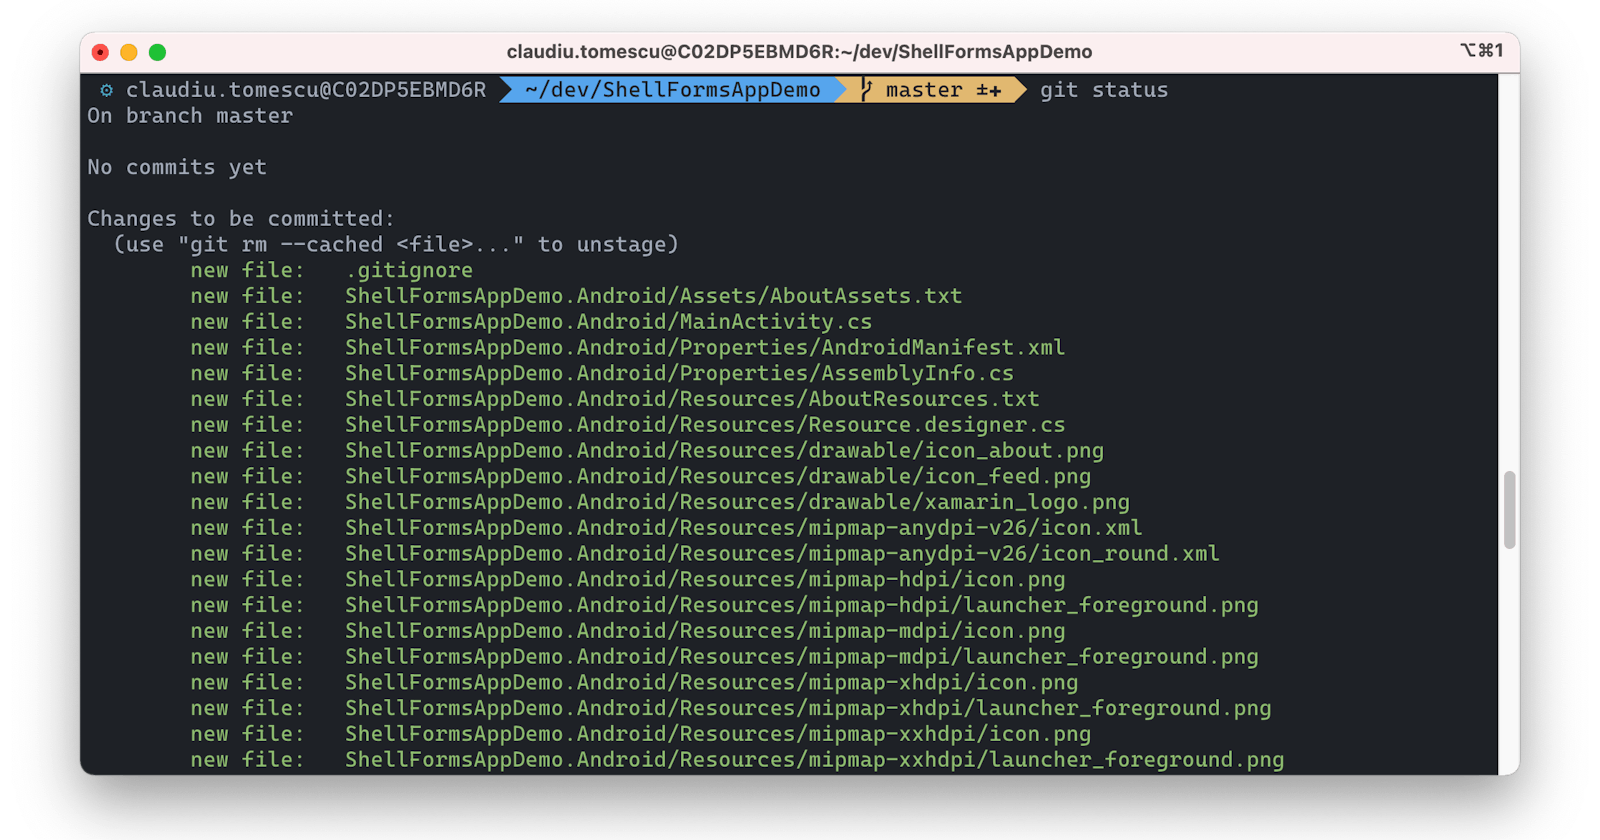
As you can see my command line is pretty informative, showing the currently logged user, current directory, and in my example, the git branch name with colouring indicating there are no unstaged changes. Let's see how to set it up.
Follow these steps to set up the command line.
Note: I avoid commands as much as possible, instead providing links directly to the tools used as these may become obsolete in time.
Step 1: Install iTerm2
iTerm2 is a macOS terminal replacement, which offers enhanced functionality. Navigate to iterm2.com and download the installer, then run it and follow the instructions.
Step 2: Install zsh
zsh is a shell designed for interactive use, although it is also a powerful scripting language
Install zsh using brew:
$ brew install zsh
Step 3: Install Oh My Zsh
Oh My Zsh is a delightful, open-source, community-driven framework for managing your Zsh configuration.
Head to ohmyz.sh and follow the instructions to install Oh My Zsh. After installing Oh My Zsh restart iTerm2 to get the best experience of using zsh.
Step 4: Configure Oh My Zsh
One of Oh My Zsh' superpowers is the themes. It comes with quite a bit of themes, and there are plenty of external themes.
To change the theme open the configuration file and change the theme:
nano ~/.zshrc
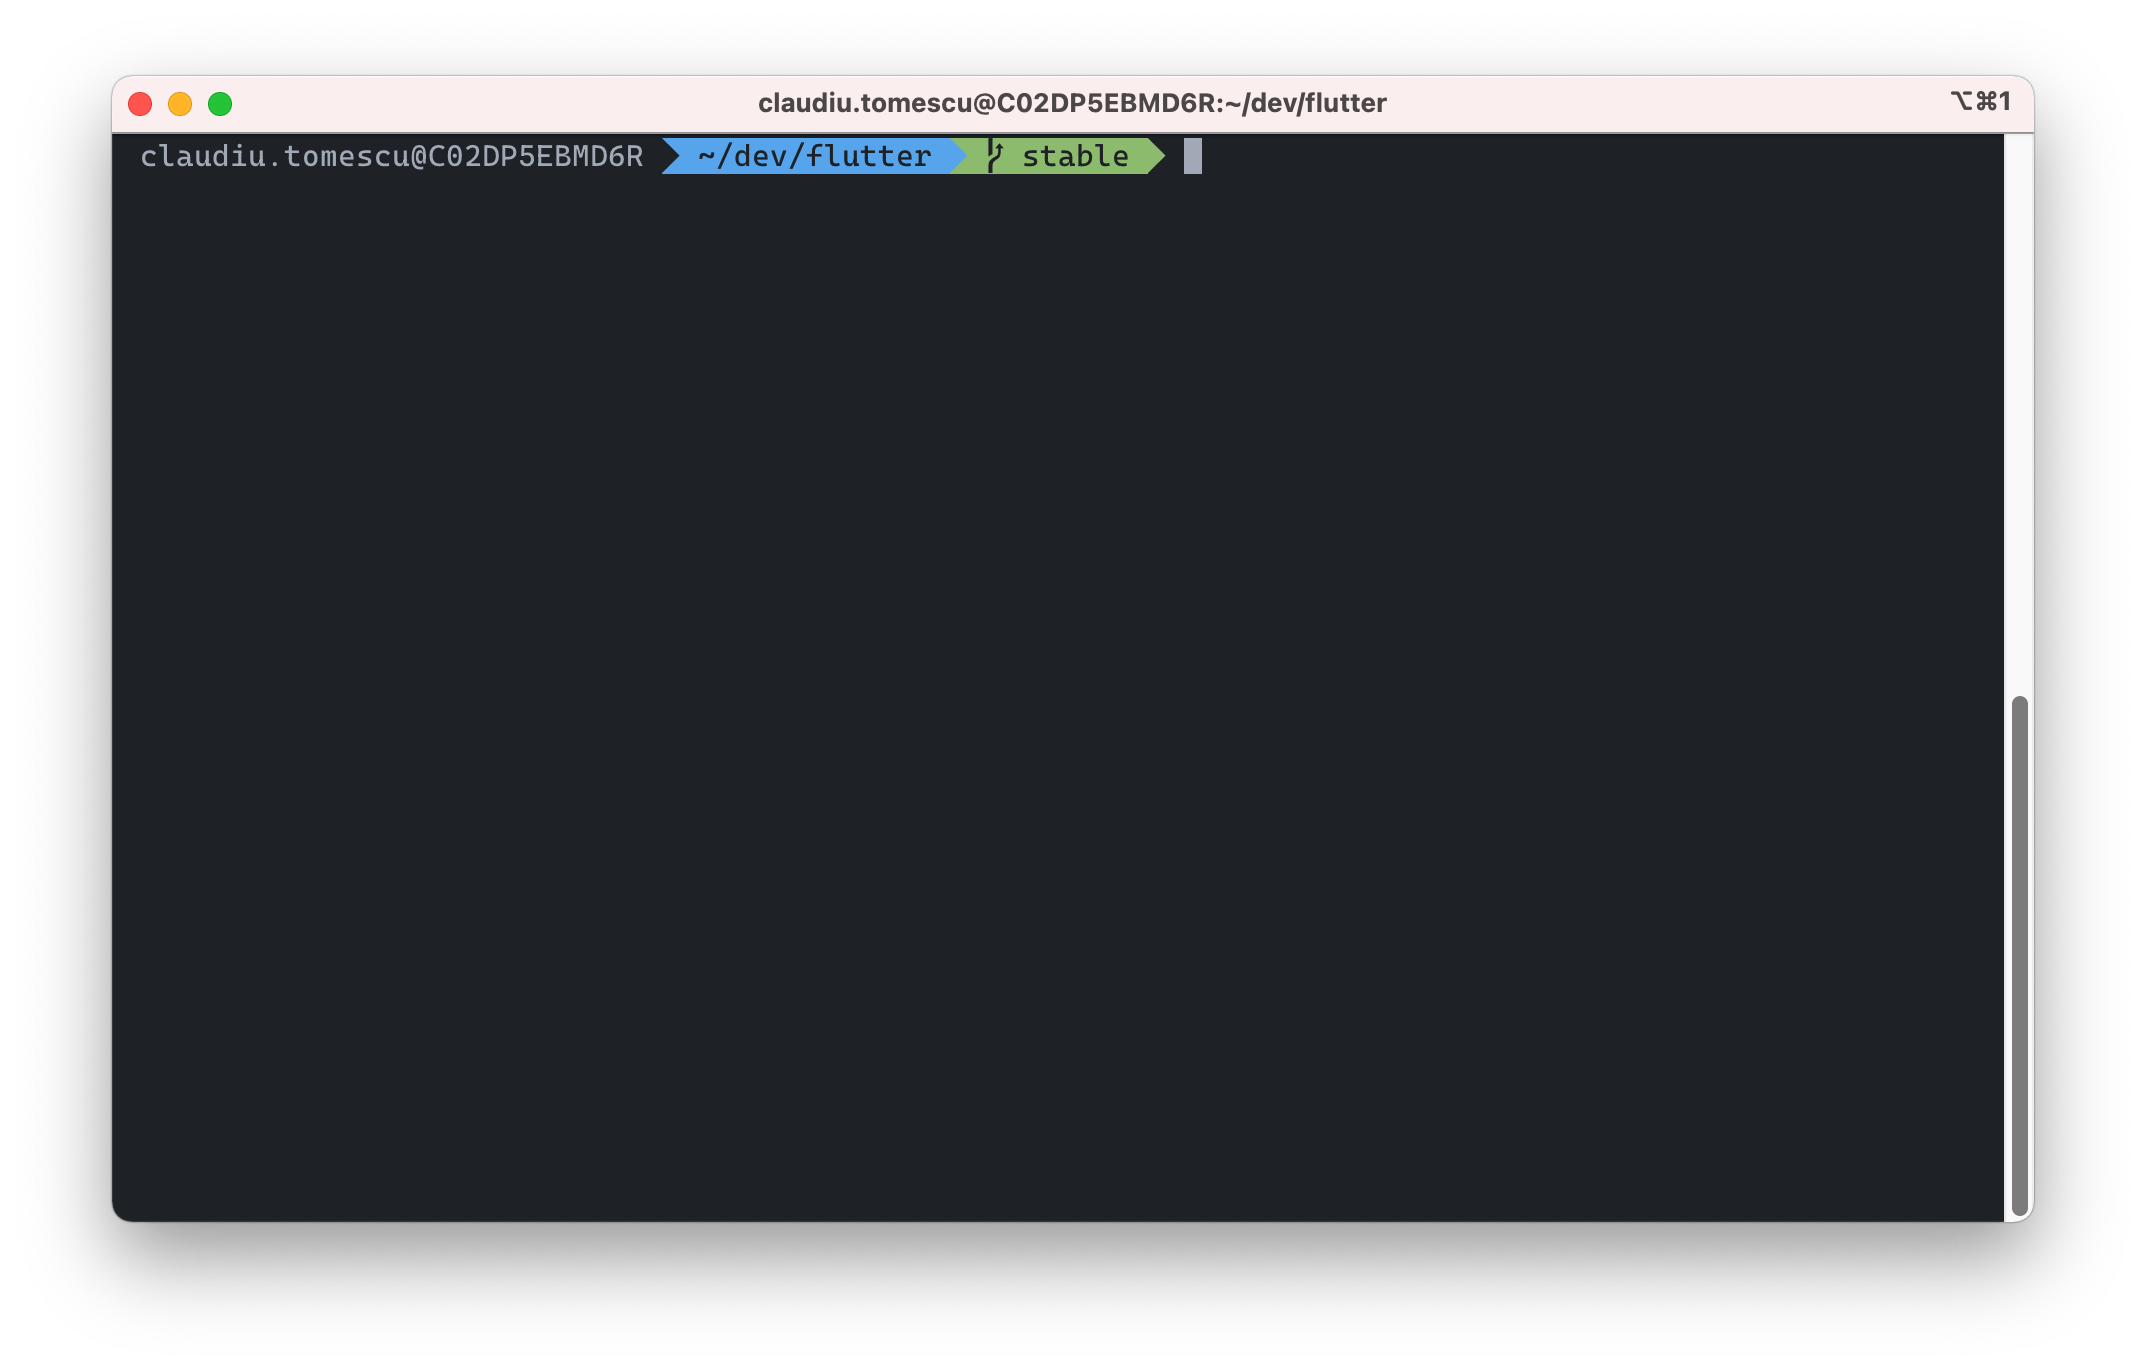
To change the theme search for the line where the variable ZSH_THEME is set. In my case it's ZSH_THEME="agnoster". Agnoster is a zsh built-in theme, but you can load and use an external theme as well. Read more about themes in zsh here.
Step 5: Installing a better font
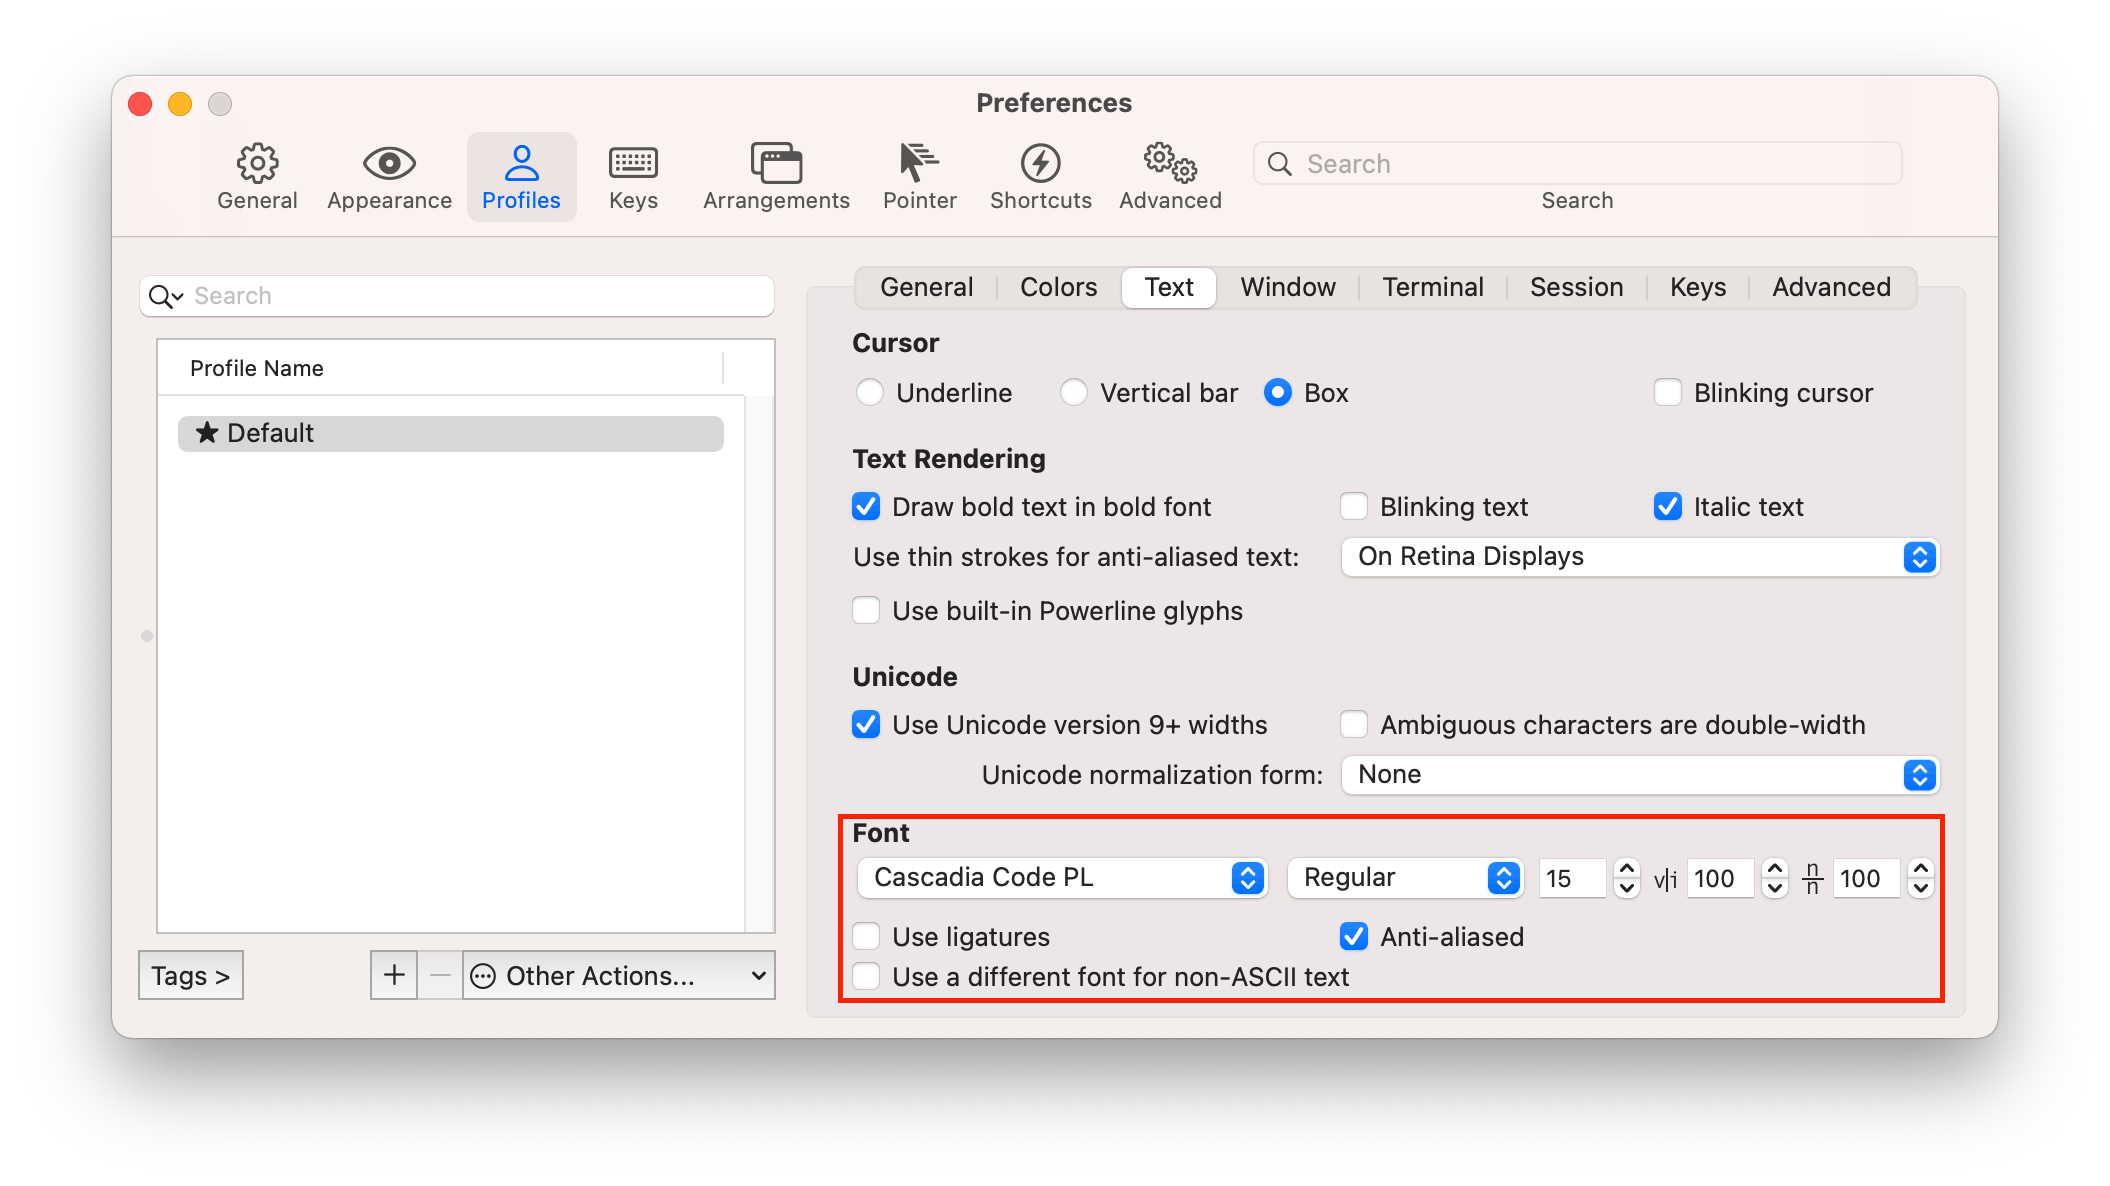
in order to have the pretty part of the command line you need to install a better font. You need a font that has Powerline glyphs. I installed Cascadia Code PL, but you there are many others out there. One site I recommend for fonts is nerdfonts.com
Once you install the font, you need to select it in iTerm2. Open iTerm2 properties and then iTerm2 -> Preferences -> Profiles -> Text -> Change Font and select the font you want to use:
Step 6: Change the color scheme
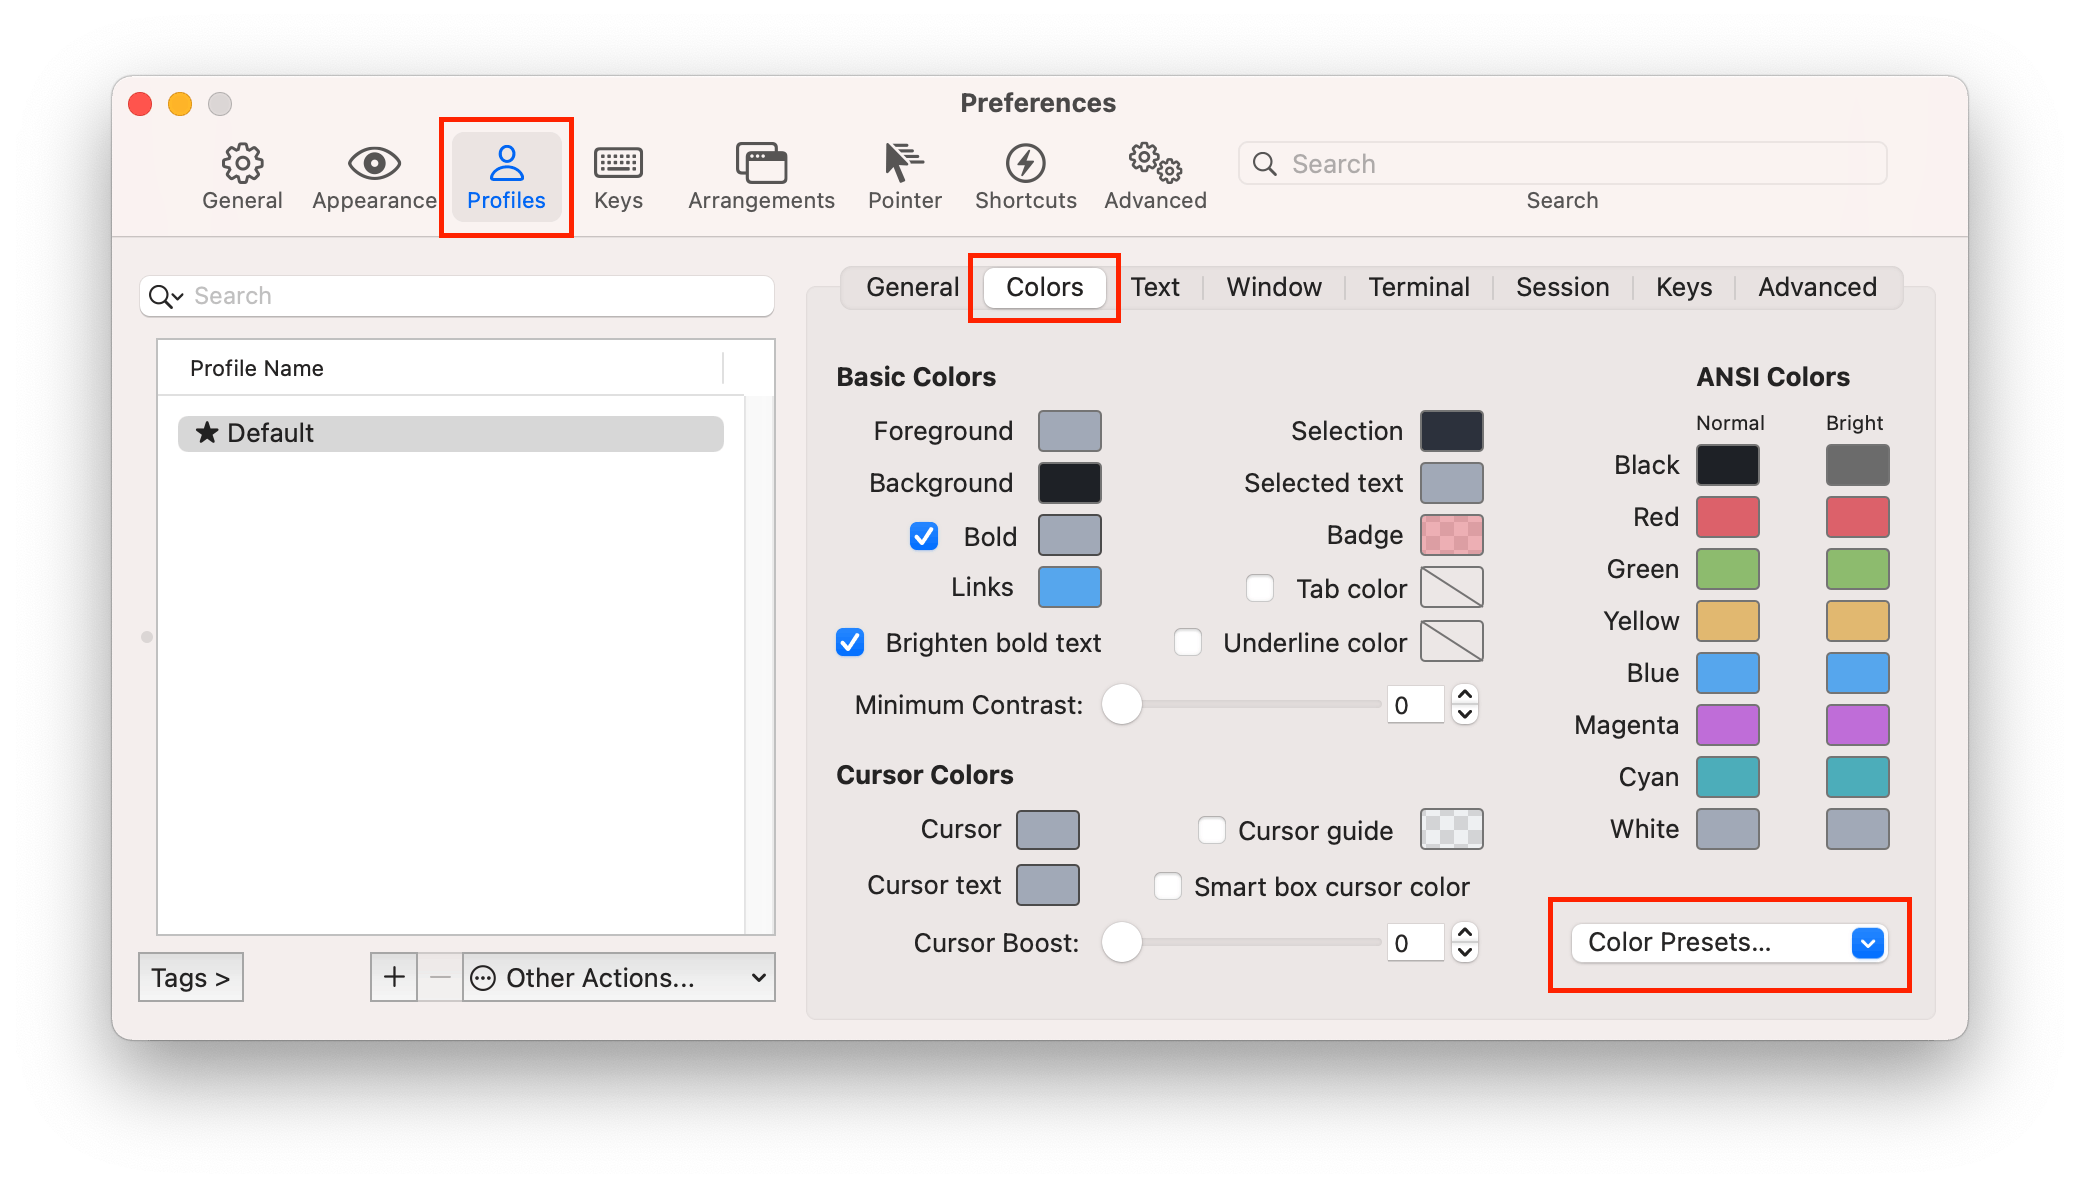
Open iTerm2 preferences then iTerm2 -> Preferences -> Profiles -> Colors -> Color Presets and select the desired color scheme. I'm using One Dark
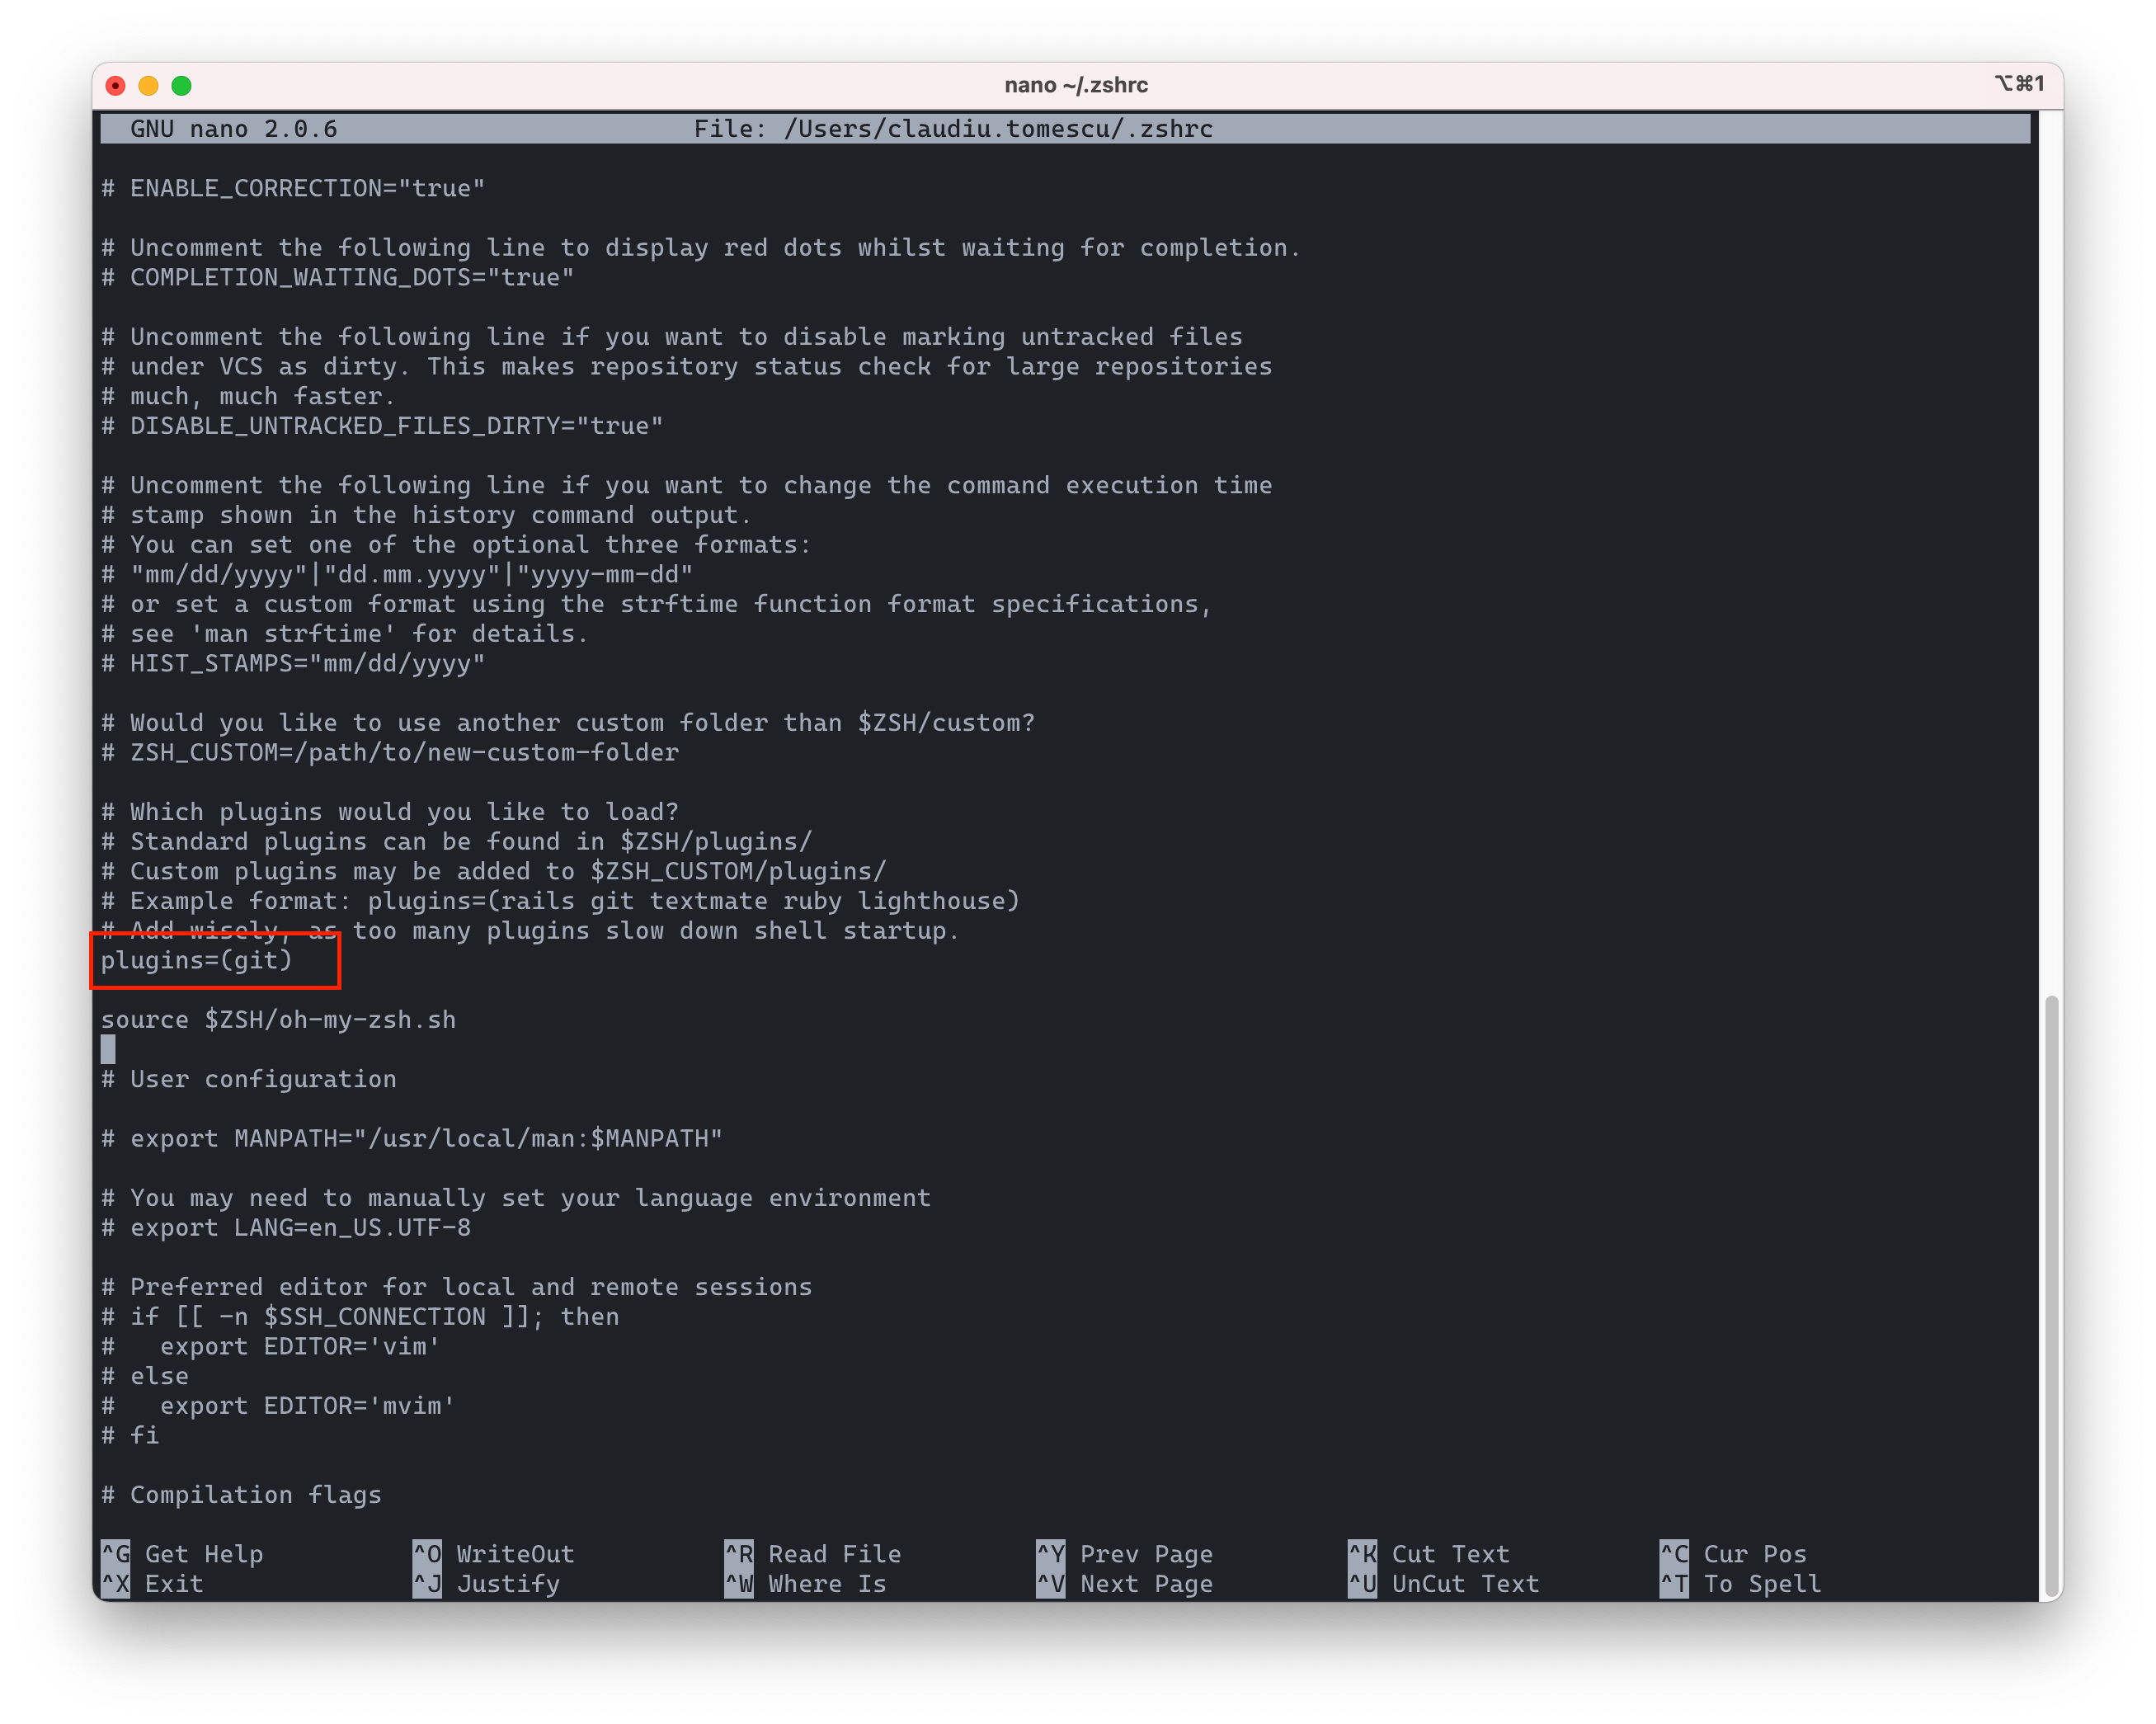
Step 6: Install plugins
As I mentioned in the beginning one of the other superpowers of zsh is plugins (scripting). I'm using the Git plugin to display useful information about the current branch, and smart coloring to indicate if there are unstaged changes.
The Git plugin is preconfigured with zsh, but if you want to install other plugins, docker is another useful one for example, you need to basically clone the Git repo and then enable the plugin in the config file.
To clone te Docker Git repo use the following command:
git clone https://github.com/zsh-users/zsh-docker.git ${ZSH_CUSTOM:-~/.oh-my-zsh/custom}/plugins/zsh-docker
Then, as before, open the config file with nano ~/.zshrc and search for the plugins section and add the plugins required (one plugin per row)
That's it. You should now have a nice looking and useful command line.
Thanks for reading!